- Sweet
- Frozen
- Entertaining
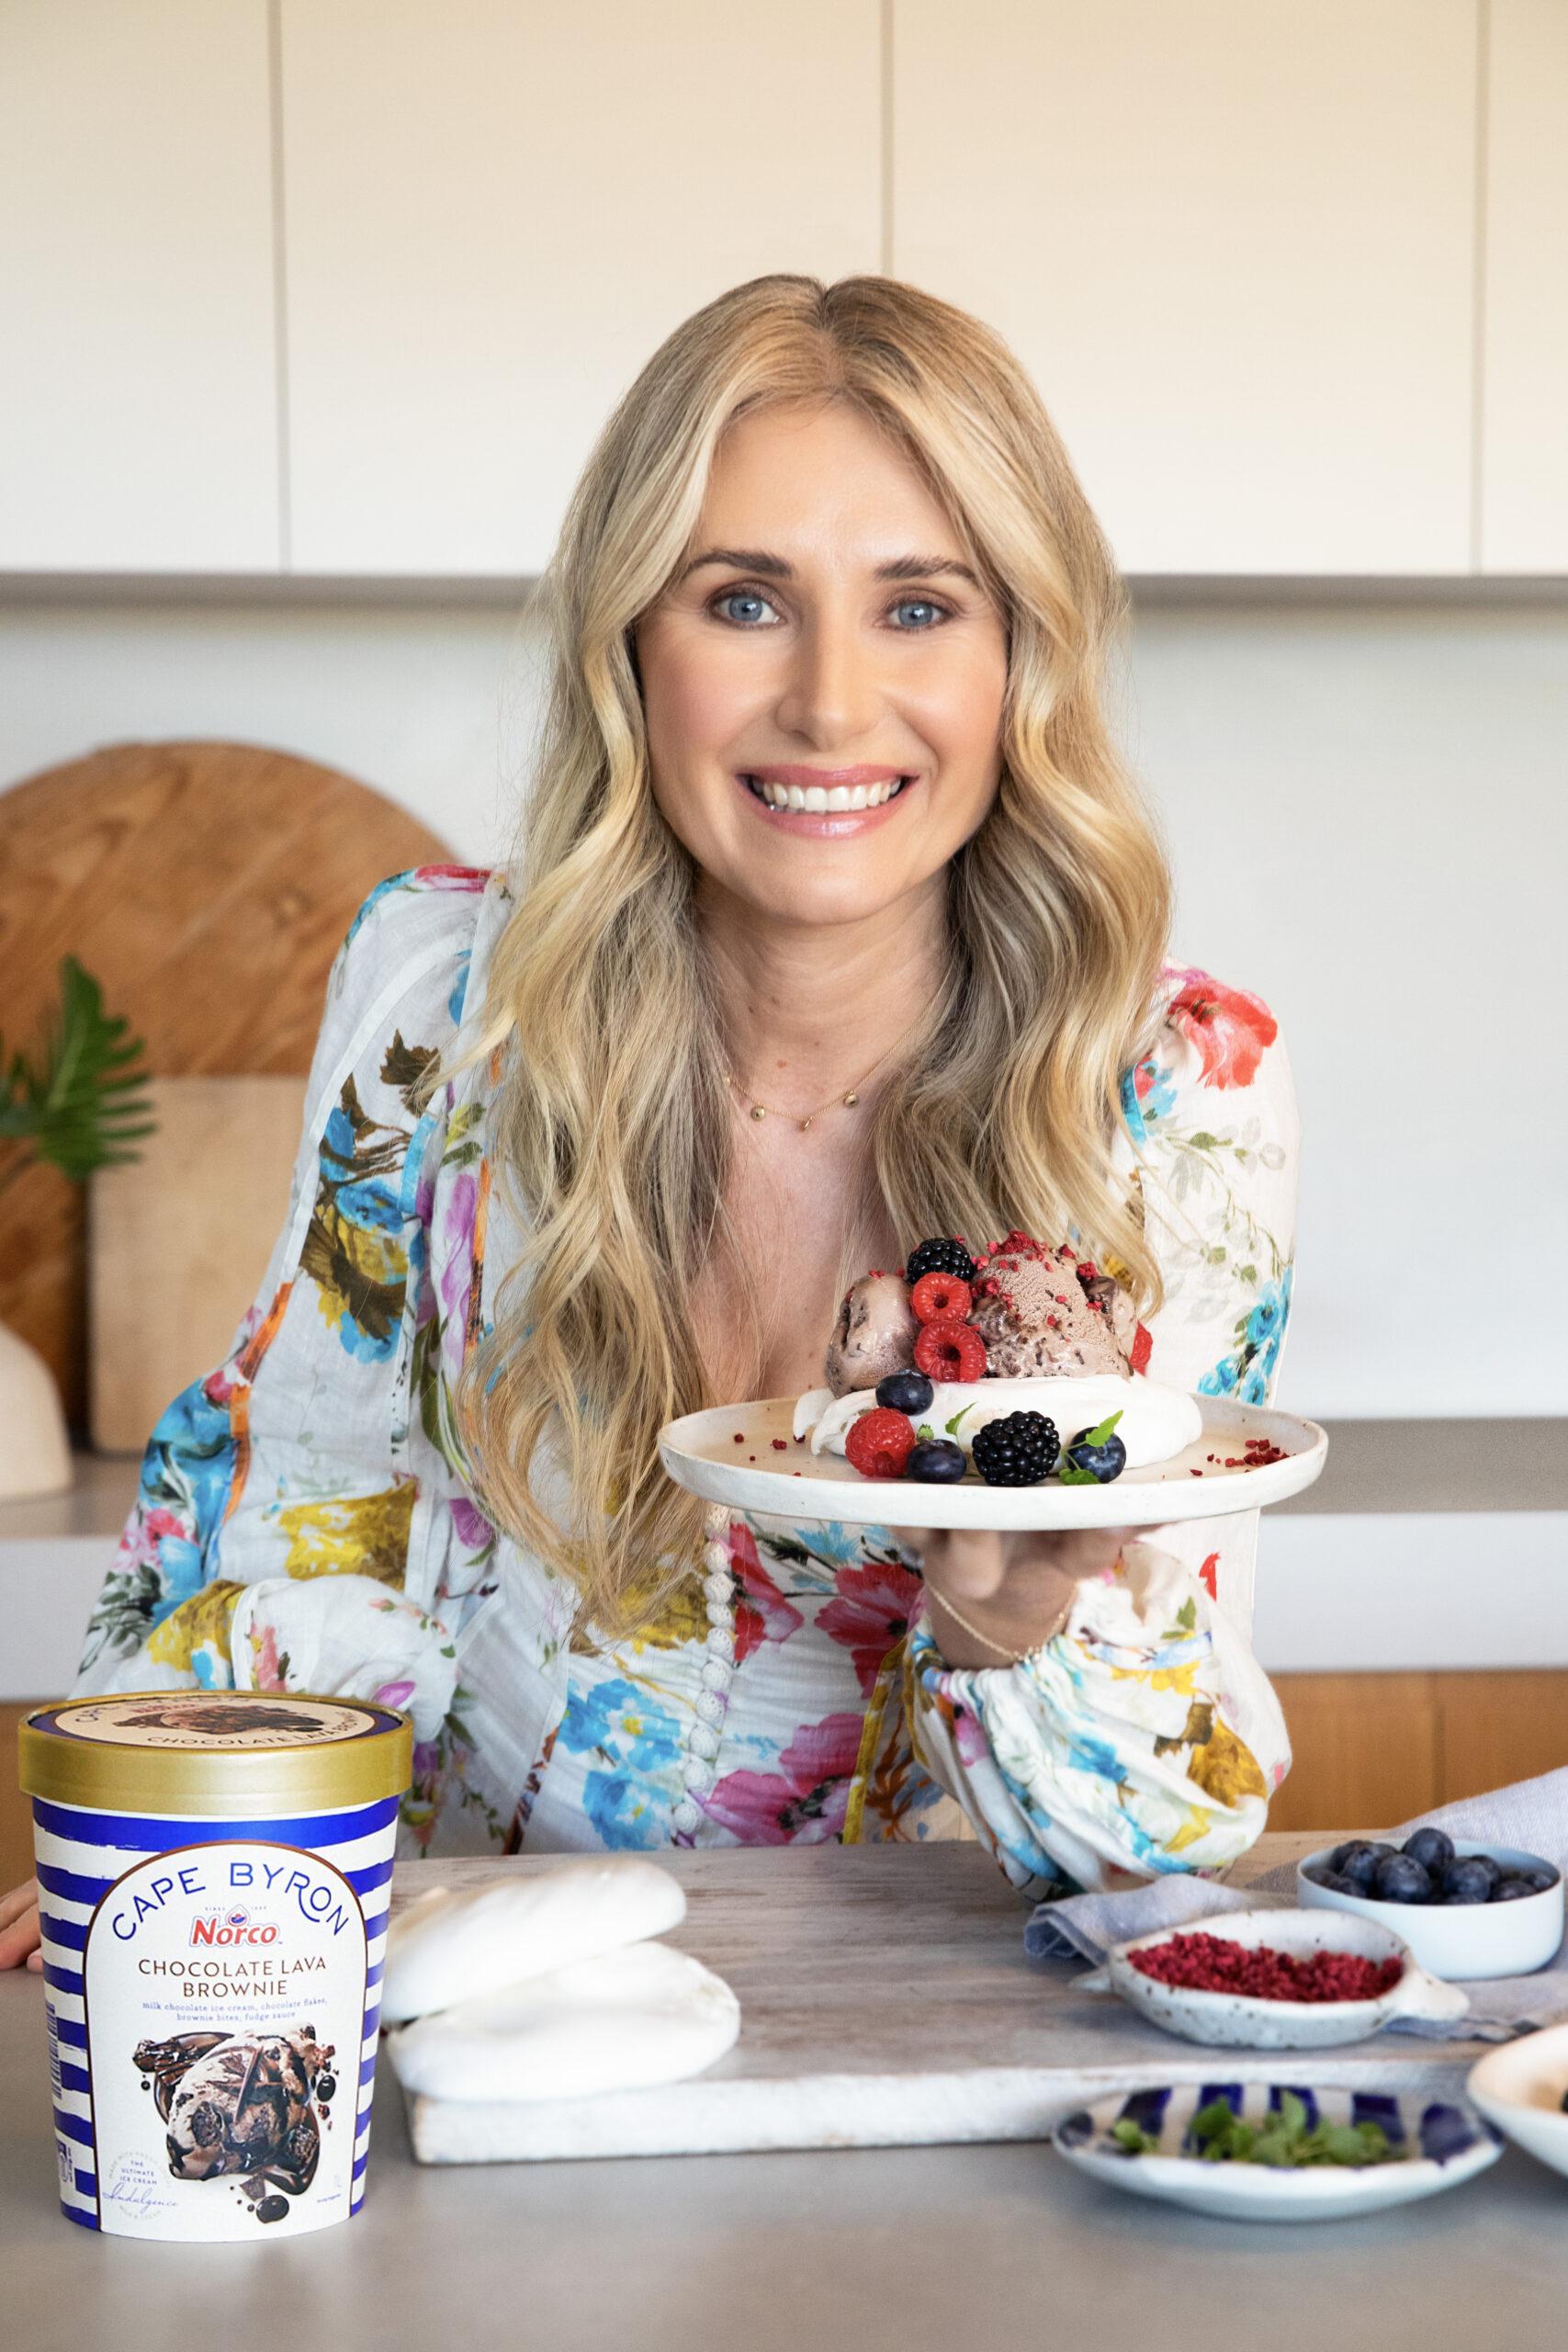
Cape Byron Chocolate Lava Brownie Meringues
These Cape Byron Chocolate Lava Brownie Meringues are a dessert lover’s dream—bringing together the best parts of a molten brownie and a crisp-on-the-outside, marshmallow-soft meringue.
With Magdalena Roze’s signature touch, this recipe transforms simple ingredients into something truly spectacular. Think crackly edges, a fudgy chocolate centre, and a cloud-like meringue finish that melts beautifully on the tongue.
The contrast of textures is what makes this dessert unforgettable: warm, gooey chocolate meeting cool, creamy ice cream or a dollop of whipped cream, all wrapped in that delicate meringue shell. It’s indulgent without being heavy, elegant without being fussy, and guaranteed to impress whether you’re hosting or treating yourself.
A decadent twist on two classics, brought together in one irresistible bite.

What You’ll Need
Norco cape byron chocolate lava brownie ice cream
6 egg whites
1 ¼ cup (270g) caster sugar
2 tsp cornflour
1 tsp white vinegar
½ tsp vanilla extract
Seasonal fruit or berries to decorate
Preheat oven to 120°C and line 3 baking trays with baking paper. Use an electric mixer to whisk egg whites in a clean dry bowl until soft peaks form. Gradually add sugar, 1 tablespoon at a time, beating well after each addition, until meringue is thick and glossy and sugar dissolved. Rub a little meringue between fingers. If still “gritty” with sugar, continue to whisk until sugar dissolves. Add cornflour, vinegar and vanilla and whisk until just combined. Spoon meringue mixture onto the baking trays to form the nests (2 nests per tray). Bake in oven for 1 ½ hours or until meringue is dry to the touch. Turn off oven but leave meringues in oven with the door ajar to cool completely. When completely cold, transfer to serving platter and add scoops of Cape Byron Chocolate Lava Brownie ice cream and seasonal berries or fruit slices to decorate.
Tip: When forming the meringue nests, use a spatula to ensure sides are smooth and an indent or scoop is made in the middle to form the “bowl” of the nest where the ice cream scoop can sit.
More from the Farm to Table
Some of life's best moments are shared around the table. Explore our collection of recipes featuring quality Norco dairy products and discover delicious ways to bring family and friends together.
1 / 6